Adding Annotation Layers
For some languages, you may want to add annotation layers. For example, if your language has tone, you may want to add a layer that represents tone. These extra annotation layers are formatted in the same way as the morphemes, and glosses. There are multiple files that are affected in the dictionary and phrasicon components. The files that need to be modified are the same in both components, but the directions for the separate components will differ. If you choose to add layers in the dictionary, but not in the phrasicon, then you should only edit the dictionary components.
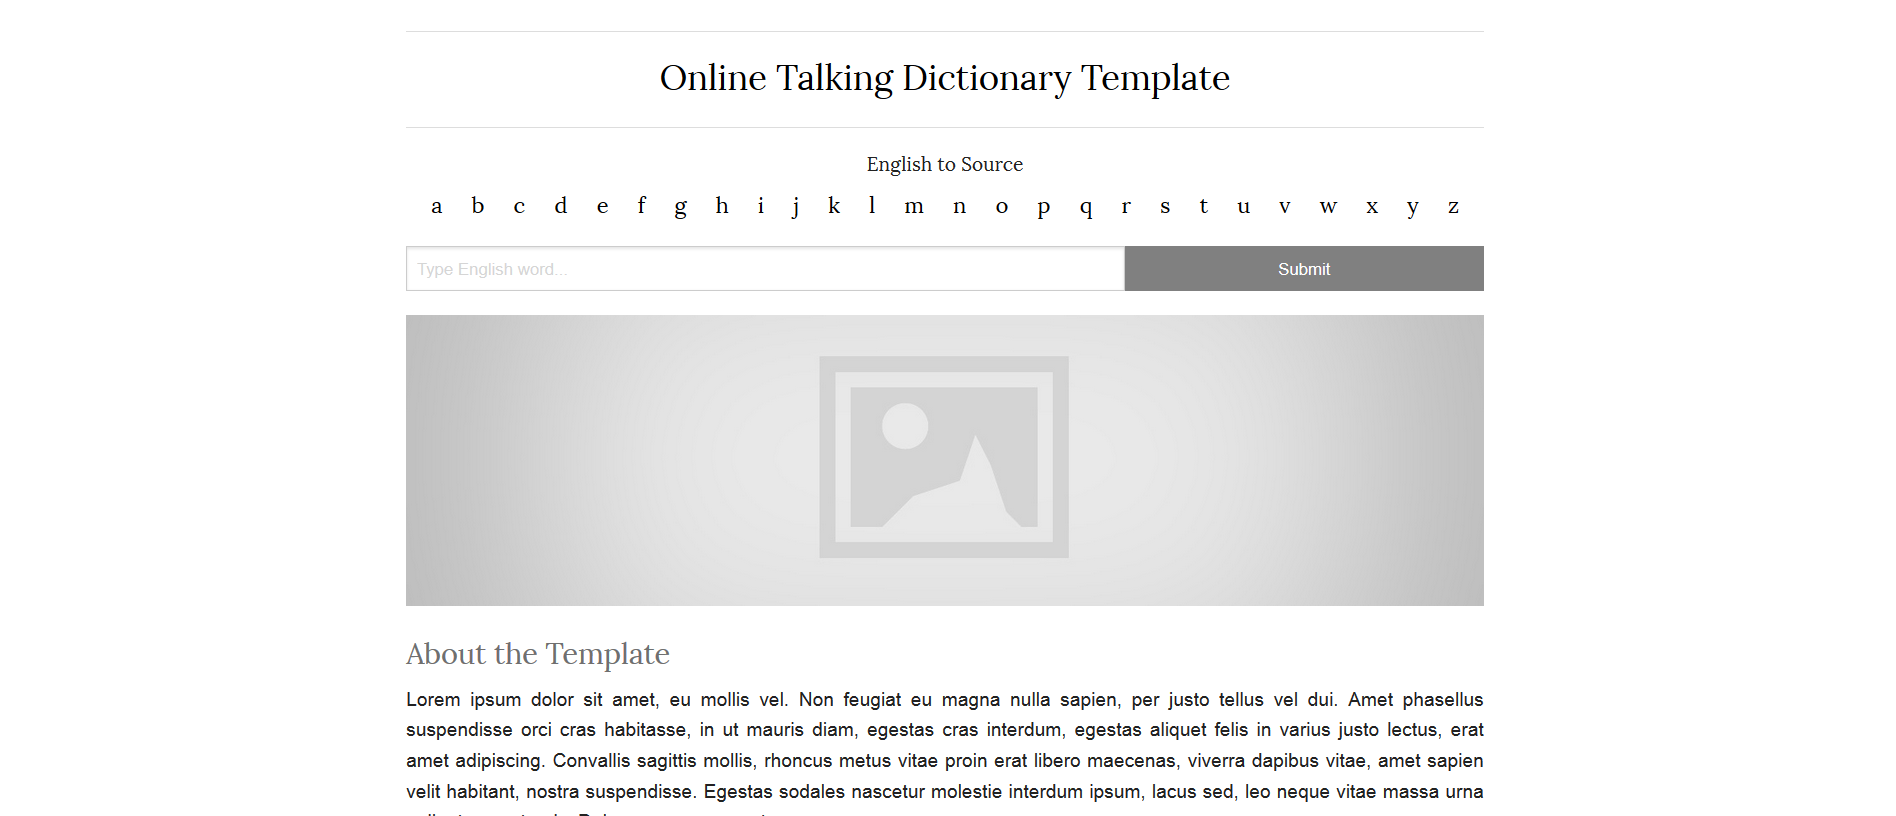
Dictionary
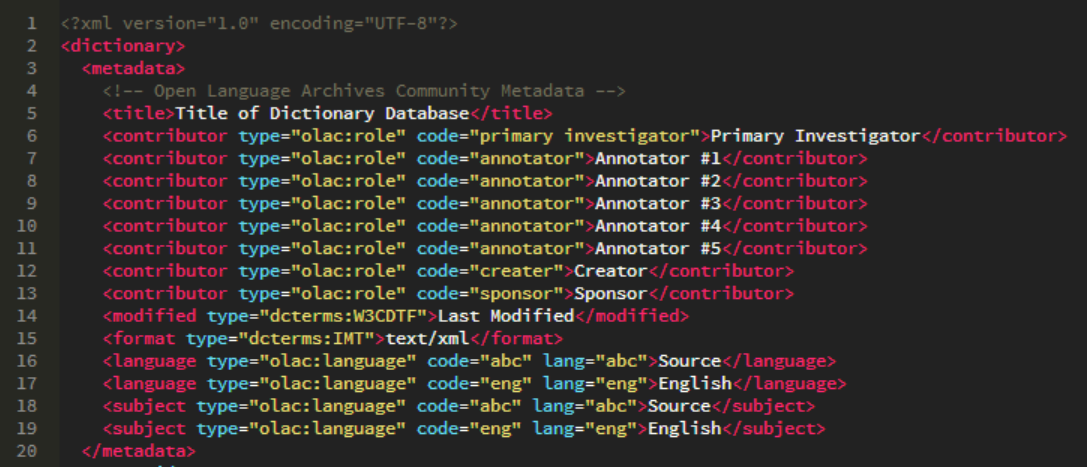
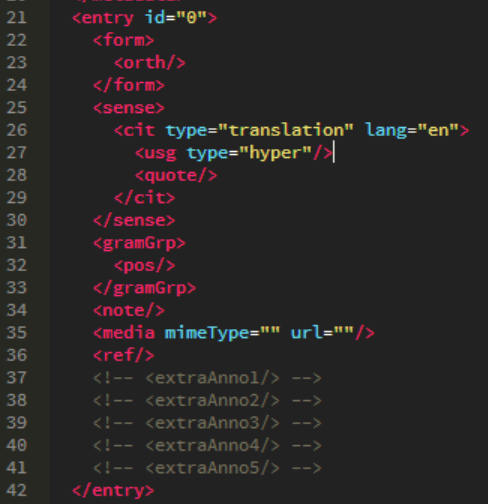
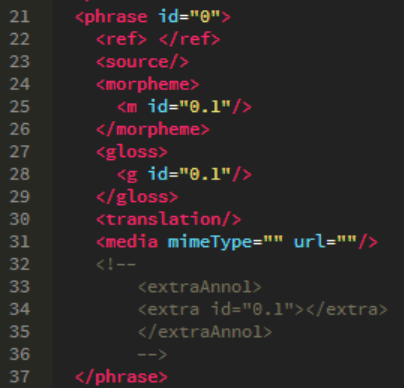
The comments, which are referred to as add-annotation-layer comments, that you should look for in the files discussed shortly will contain the following: This is where you add annotation layers.. Depending which files you open, the comments may appear as <!-- This is where you add annotation layers. -->, /* This is where you add annotation layers. */, or // This is where you add annotation layers.. In the dictionary.xml file, find the add-annotation-layer comment, and then uncomment the desired number of additional annotation layers. The default names of these layers are ExtraAnno (eg. <h4 class="subsubheader">ExtraAnno1</h4>), and extraAnno (eg. <!-- <extraAnno1/> -->). By default, there are five extra annotation layers that are embeddded in comments. In order to use these layers, you should uncomment them. For example, <!-- <p>This is a paragraph.</p> --> is a comment where a paragraph tag is embedded within. To uncomment, simply remove the leading <!-- and the trailing -->. You will then be left with <p>This is a paragraph.</p>.
You may also rename these layers. If so, you should only rename the layers where there are also comments that say Rename-able. If you rename the annotation layers, they must be consistent. Please refer to the TEI website, here, for naming standards. There is a rename-able comment in the dictionary.xml file. Replace the content. The first letter of your new name should not be capitalized. For example, if you wanted to rename a layer to represent tone, your code will look like this: <tone/>.
Now, in the dictionary/update folder, go into the interface.php file. There are two add-annotation-layer comments in this file. For the first add-annotation-layer comment found in the file, each layer is commented, and separated into blocks indicated by the following: <!-- ExtraAnno -->. Do not uncomment them. Below the <!-- ExtraAnno --> comment, uncomment the desired number of layers. If you are renaming, replace the content the following line <h4 class="subsubheader">ExtraAnno</h4>.The first letter should be capitalized. Using the same example for tone, it would be ><h4 class="subsubheader">Tone</h4>. For the line beneath saying <input type="text" name="extraAnno">, replace the content extraAnno between the quotation marks. Here, the first letter should not be capitalized. Keep this in mind for future changes: if the content reads ExtraAnno, the first letter of the new name should be capitalized. If the content reads extraAnno, the first letter of the new name should not be capitalized. Look for the second add-annotation-layer comment in the file, and, again, uncomment the layers you want. Replace the content extraAnno and ExtraAnno.
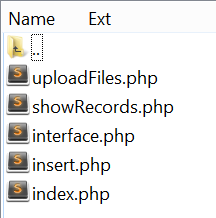
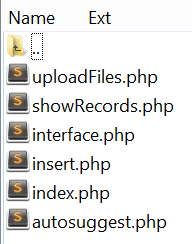
Next, open the insert.php file. There is one add-annotation-layer comment. Uncomment the desired number of layers. If you are renaming, replace the content. For example, in the tone example, the line of code would look like this: $entry->addChild("tone", $_POST['tone']);.
In the showRecords.php file, there are three add-annotation-layer comments. For the first one, uncomment the number of layers you want, and if renaming, replace the content. (eg. echo "<th>Tone</th>";. Do this for the second and third, but you should not be making changes to the name.
Finally, in the /dictionary folder, go into the word.php file. There are two add-annotion-layer comments. Just like before, uncomment the layers in both sections. Remember, if the comments look like this // <p>Example</p>, to uncomment, delete the two forward slashes, and they will look like this: <p>Example</p>. Again, you should not be renaming anything.
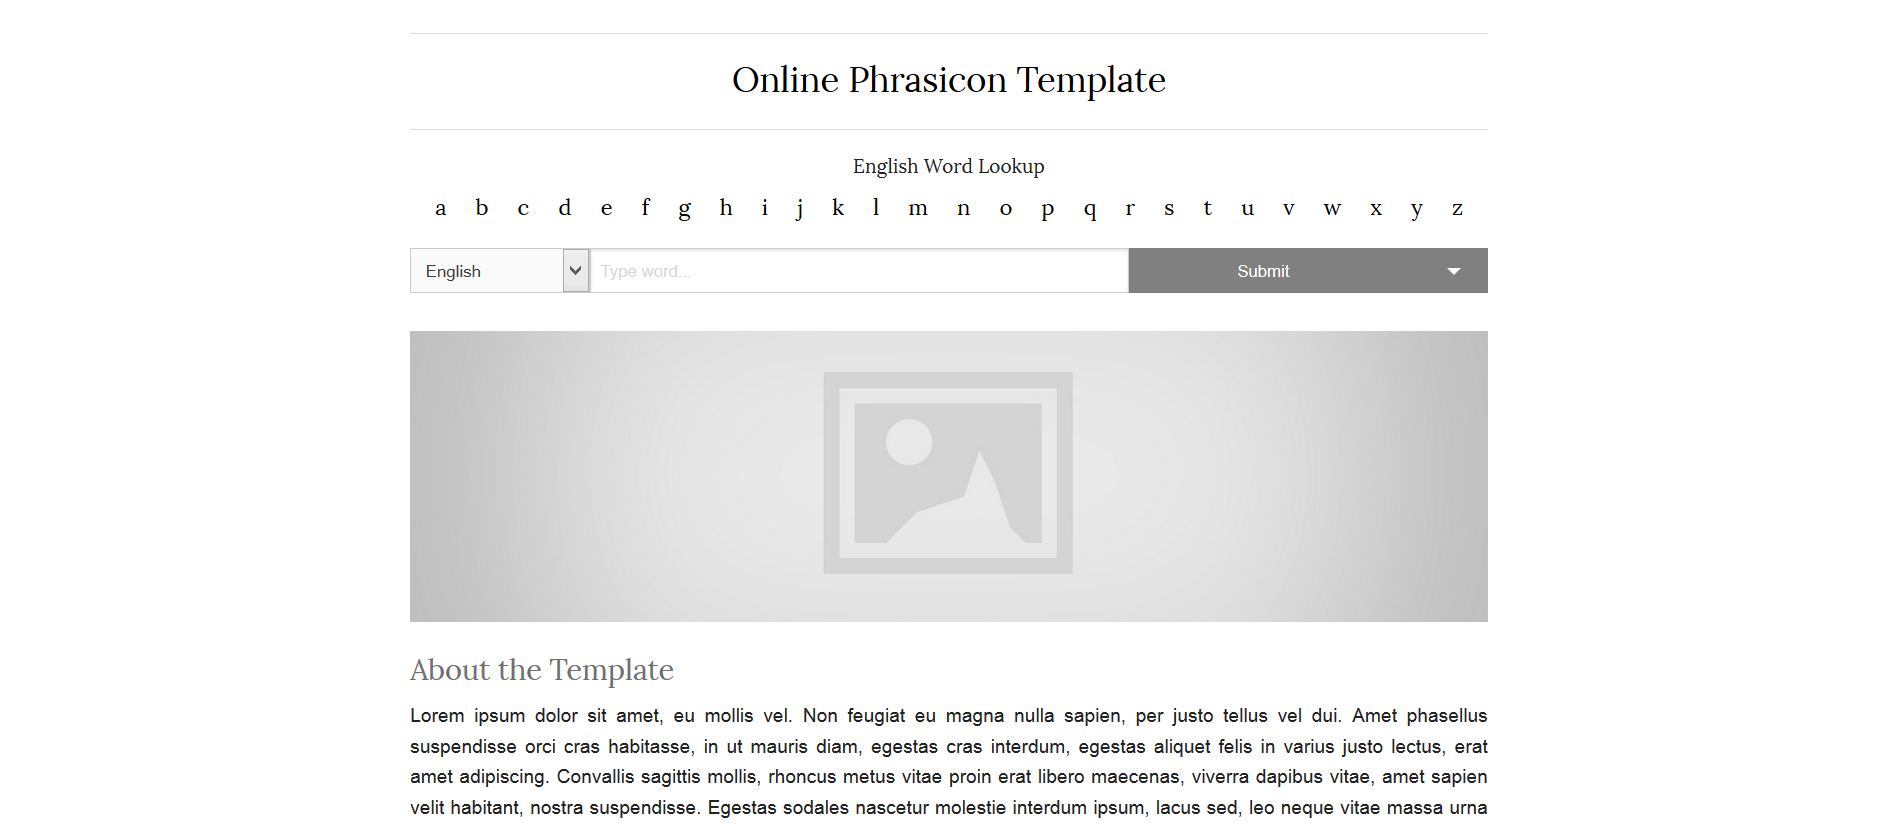
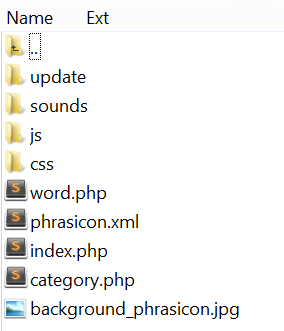
Phrasicon
The comments, which are referred to as add-annotation-layer comments, that you should look for in the files discussed shortly will contain the following: This is where you add annotation layers.. Depending on which files you open, the comments may appear as <!-- This is where you add annotation layers. -->, /* This is where you add annotation layers. */, or // This is where you add annotation layers.. The default names of these layers are ExtraAnno (eg. <h4 class="subsubheader">ExtraAnno1</h4>), and extraAnno (eg. <!-- <extraAnno1>[...]</extraAnno1> -->). By default, there are five extra annotation layers embedded in comments. In order to use these layers, you should uncomment them. For example, <!-- <p>This is a paragraph.</p> --> is a comment where a paragraph tag is embedded within. To uncomment, simply remove the leading <!-- and the trailing -->. You will then be left with <p>This is a paragraph.</p>. In the phrasicon.xml file, find the add-annotation-layer comment. Each layer is commented, and separated into blocks indicated by the following: <!-- ExtraAnno -->. Do not uncomment them. Below each <!-- ExtraAnno -->, uncomment the desired number of layers.
You may also rename these layers. If so, you should only rename the layers where there are also comments that say Rename-able. If you rename the annotation layers, they must be consistent. Please refer to the TEI website, here, for naming standards. There is a rename-able comment in the dictionary.xml file. Replace the content. The first letter of your new name should not be capitalized. For example, if you wanted to rename a layer to represent tone, your code will look like this: <tone>[...]</tone>. Do not rename the tags <extra&l;[...]</extra<.
Now, in the phrasicon/update folder, go into the interface.php file. There are two add-annotation-layer comments in this file. For the first add-annotation-layer comment found in the file, each layer is commented, and separated into blocks indicated by the following: <!-- ExtraAnno --> just like in the phrasicon.xml fil. Do not uncomment them. Below each <!-- ExtraAnno --> comment, uncomment the desired number of layers. If you are renaming, replace the content the following line <h4 class="subsubheader">ExtraAnno</h4>.The first letter should be capitalized. Using the same example for tone, it would be ><h4 class="subsubheader">Tone</h4>. Look for the second add-annotation-layer comment in the file, and, again, uncomment the layers you want. Replace the content extraAnno and ExtraAnno. Keep in mind that if the content reads ExtraAnno, the first letter of the new name should be capitalized. If the content reads extraAnno, the first letter of the new name should not be capitalized. Therefore, if the layer was renamed for tone, the code will look like this: <option value="tone">Tone</option>.
Next, open the insert.php file. There are two add-annotation-layer comments. In the first one, there are five blocks of commented code that correspond to the five extra annotation layers. Uncomment the number of layers you want by removing the /* and */. If renaming, in the line of code that says $extraAnno1 = $entry->addChild('extraAnno1');, replace extraAnno1 only in addChild('extraAnno1');. So for tone, it will look like this: $extraAnno1 = $entry->addChild('tone');. For the second add-annotation-layer comment, again, uncomment the desired number of layers. If renaming, in the code that reads elseif ($field=="extraAnno1") {, replace extraAnno1.
In the showRecords.php file, there are two add-annotation-layer comments. For the first one, uncomment the number of layers you want, and if renaming, replace the content. (eg. echo "<th>Tone</th>";. Now, look for the second add-annotation-layer comment. Again, there are five blocks of comments with code in them. Each of these blocks are beneath another comment that says // ExtraAnno. Do not uncomment these. Instead, uncomment the block of code underneath.
Finally, in the /phrasicon folder, go into the word.php file. There are two add-annotion-layer comments. Just like before, uncomment the layers in both sections. For the first one, each layer consists of multiple lines of code enclosed within the comment tags. The second one is simply five lines of code for the five layers. You should not rename any of the content in this file.